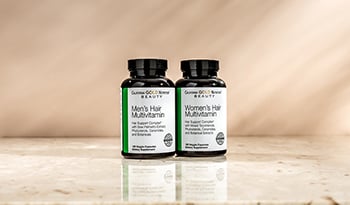
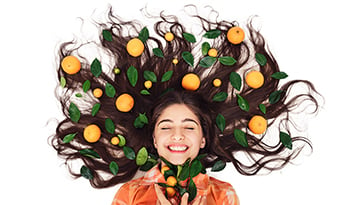
Ile razy chciałaś odtworzyć perfekcyjną fryzurę, którą otrzymałaś w salonie fryzjerskim? Zbliża się pierwsza randka, ważne spotkanie lub po prostu lunch z dziewczynami - i chcesz mieć idealnie ułożone włosy.
Nie zawsze jest to praktyczne, aby mieć pod ręką fryzjera lub umówić się na zabieg. W związku z tym chciałem przedstawić kilka najważniejszych wskazówek, jak uzyskać elegancki, profesjonalny efekt w domu. Pamiętaj: perfekcyjna stylizacja nie polega jedynie na chwyceniu suszarki i podgrzaniu włosów. Mamy nadzieję, że poniższe kroki pomogą Ci stworzyć idealny wygląd. Prześledźmy kroki, które pomogą Ci stworzyć rewelacyjną, idealną fryzurę w salonie.
Świetne suszenie zaczyna się od czystego płótna
Po pierwsze, należy oczyścić włosy doskonałym szamponem oczyszczającym , aby usunąć wszelkie osady i nadmiar produktów do stylizacji. Pomyśl o tym jako o tworzeniu pustego płótna, abyś mógł zabrać się do pracy nad stworzeniem idealnej fryzury.
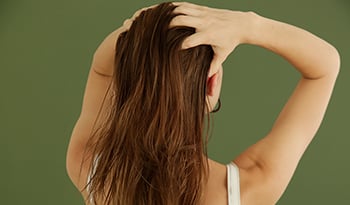
Podczas używania szamponu oczyszczającego , upewnij się, że dotarłeś do korzeni, masując skórę głowy naprawdę dobrze, aby usunąć cały osad. Po spłukaniu włosów, należy następnie użyć odżywczego szamponu zwiększającego objętość. Pomoże to usunąć wszelkie pozostałości z włosów. Jeszcze pod prysznicem nałóż odżywkę na końcówki włosów, omijając odrosty. (Nie chcesz obciążać włosów odżywką, ale chcesz, aby końcówki były w pełni odżywione).
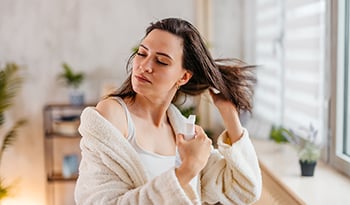
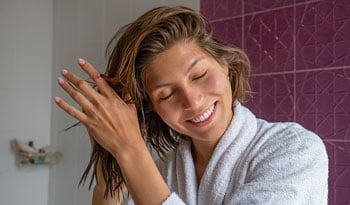
Po wyjściu spod prysznica użyj miękkiego bawełnianego ręcznika lub koszulki, aby osuszyć włosy. Włosy powinny być delikatne i miękkie, aby nie powodować tarcia, co pomoże zapobiec ich puszeniu się. Jedną z moich sugestii jest to, aby nie owijać włosów grubym ręcznikiem na czubku głowy: zwykle prowadzi to do puszenia się włosów.
Produkty do stylizacji, których będziesz potrzebować
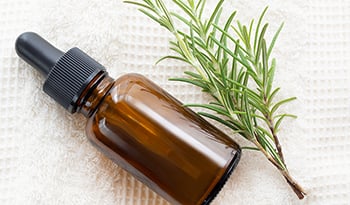
Zacznijmy od naszych produktów do stylizacji. Najpierw należy nałożyć ulubioną odżywkę unoszącą włosy u nasady i rozprowadzić ją u nasady włosów. Następnie należy pokryć końcówki lekkim środkiem termoochronnym , aby chronić włosy przed ciepłem suszarki. Środek chroniący przed wysoką temperaturą pomoże ograniczyć puszenie się i łamanie włosów oraz sprawi, że będą one lśniące i zdrowe. Im zdrowsze włosy, tym większa ich sprężystość, a tego właśnie oczekujemy od naszej fryzury.
Wybór odpowiedniego sprzętu
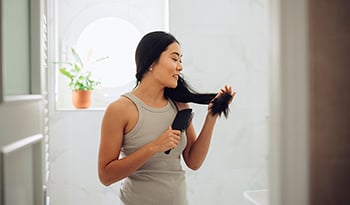
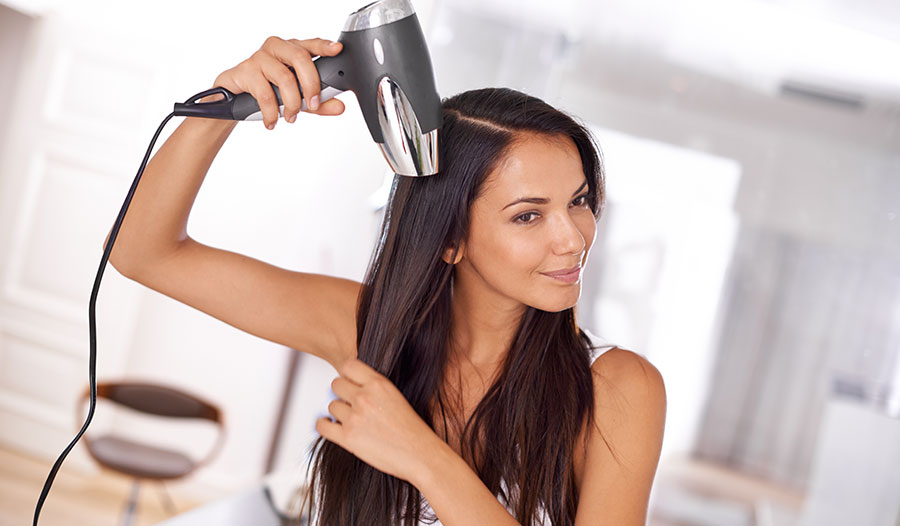
Przy wyborze suszarki do włosów moim jedynym wymaganiem jest posiadanie dyszy na końcu suszarki. W ten sposób ciepło jest umieszczane tylko w wybranym punkcie, dzięki czemu można kontrolować kierunek. Gdy zamierzasz skierować ciepło na określone sekcje włosów, upewnisz się, że inne sekcje włosów nie będą się puszyć, gdy zaczniesz suszyć różne sekcje. Temperatura i prędkość suszarki będą różne dla każdej osoby. Jeśli nie jesteś pewien, jakich ustawień użyć, zacząłbym od średniego ciepła i mocy. W miarę nabierania pewności siebie i opanowywania techniki suszenia, przechodziłbym do wyższych prędkości i wyższych temperatur. W przypadku grubych, kręconych włosów zwykle zaczynam od wysokiej temperatury i najwyższej mocy, aby wygładzić loki, ale ponownie, zacznij od tego, z czym czujesz się pewnie.
Kolejnym krokiem jest wybór odpowiedniego pędzla . Okrągłe lub owalne to moje ulubione pędzle. Okrągła szczotka stworzy pełne sprężyste loki i ruch. Wybór odpowiedniego rozmiaru zależy od wykończenia (czy to loki, sprężystość czy proste), które chcesz uzyskać. Im mniejsza szczotka, tym więcej loków i sprężystości; z większą szczotką uzyskasz bardziej prosty i pełny wygląd. Użycie owalnej szczotki zapewnia wyjątkowy, pełny efekt suszenia z prostszą końcówką. Możesz także użyć kombinacji tych szczotek, aby stworzyć różne stylizacje lub różne sekcje włosów.
Zawsze dziel włosy, aby uzyskać najlepsze rezultaty
Następnie należy podzielić włosy na sekcje. Pomyśl o tym tak, jakby twoje włosy znajdowały się w różnych ćwiartkach - na górze, z tyłu, po lewej i po prawej stronie. Chcesz oddzielić każdy kwadrant za pomocą klipów. Lubię zaczynać od górnej części, czyli od przodu. Lubię zwijać włosy do góry i do przodu w trzech mniejszych podsekcjach, w górę i w kierunku twarzy, z suszarką podążającą za szczotką od nasady aż po końce. Pozwól suszarce przepchnąć włosy przez szczotkę. Gdy włosy zostaną zaokrąglone (owinięte), możesz przez chwilę przesuszyć je suszarką, a następnie zwolnić. Powtórz tę czynność w razie potrzeby, aby upewnić się, że ta sekcja jest całkowicie sucha. W zależności od grubości włosów może być konieczne dodanie dodatkowej sekcji lub dwóch. Po dotarciu do szczytu korony należy zmienić kierunek okrągłej/owalnej szczotki i cofnąć się. Po dotarciu do szczytu korony (włosy, które opadną do tyłu) należy podwinąć je w kierunku tyłu głowy, aby uzyskać dodatkowe uniesienie korony. Może to zająć dwie lub trzy sekcje, w zależności od grubości włosów. Możesz przytrzymać ją klipsem, gdy będziesz ją zdejmować podczas suszenia reszty włosów.
Przejdźmy teraz do boków. Zaczynając od preferowanej strony, należy utworzyć dwie lub trzy sekcje od dołu do góry po przekątnej skierowanej w stronę oczu. Wykonuj dokładnie te same ruchy, co na czubku głowy, przesuwając szczotkę w górę i z dala od twarzy, a następnie z powrotem w jej kierunku. Końcówka suszarki powinna znajdować się blisko szczotki i być ustawiona pod kątem podczas pracy nad sekcją. Powtórz te same czynności po przeciwnej stronie.
Przejdźmy teraz do tyłu głowy. Jeśli masz wyjątkowo gęste włosy, możesz przyspieszyć suszenie, aby usunąć nadmiar wilgoci przed rozpoczęciem stylizacji, włosy powinny być lekko wilgotne przed rozpoczęciem stylizacji. Okrągłej szczotki należy używać w poziomych sekcjach z tyłu głowy i zalecam wykonanie dwóch lub trzech sekcji z tyłu głowy. W razie potrzeby można użyć klipsów , aby skupić się na aktualnie suszonym obszarze. Podczas suszenia należy przesunąć nasadę włosów do góry i do tyłu, aby upewnić się, że nasada wychodzi poziomo (nazywamy to neutralną nasadą, ponieważ wychodzi ona ze skóry głowy, a nie w dół lub w górę).
Teraz, gdy dotarłeś już tak daleko, Twoje włosy powinny zacząć wyglądać fenomenalnie. Na tym etapie należy upewnić się, że kierunek włosów jest zawsze zgodny z ich nasadą, a wszystkie odrosty są suche. W tym momencie korzeń nigdy nie może być wilgotny. Jeśli znajdziesz jakieś wilgotne plamy, usuń je przed kontynuowaniem, w przeciwnym razie cała twoja ciężka praca zacznie się załamywać.
Wykończenie
Po upewnieniu się, że wszystkie włosy są suche, można przystąpić do końcowego suszenia. Zalecam użycie rąk lub grzebienia z szeroko rozstawionymi zębami , aby przesunąć włosy do tyłu i nadać im ruch.
Gdy już uzyskasz pożądany wygląd, wykończ fryzurę lekkim i naturalnym lakierem u nasady, a następnie raz na całej długości włosów i gotowe.
Baw się dobrze, gdziekolwiek zabierasz dziś swoje włosy!
Wyłączenie odpowiedzialności:
Powyższe stwierdzenia nie zostały ocenione przez Amerykańską Agencję ds. Żywności i Leków (FDA). Produkty te nie są przeznaczone do diagnozowania, leczenia ani zapobiegania jakimkolwiek chorobom


 Spis treści